Affordable & Professional Deep Cleaning Services

If you are like most folks, cleaning your oven is one of the last things you can imagine doing. Nobody likes cleaning baked-on spillage and months’ worth of mess, but unclean kitchens and in particular ovens may put your house and family in danger in terms of health and safety.
Spilled food smoke may hurt your eyes and lungs, and leftover grease can catch fire and cause harm to ovens and even home fires. By keeping your oven clean, you may lower the risk of fire, remove potential food contamination, and reduce bacteria and toxins.
Even if cleaning the oven is a significant effort, there are techniques to make it simpler and more tolerable. The result is a spotlessly clean oven, which makes the effort feel worthwhile.
For this reason, we have prepared an ultimate oven deep cleaning guide. But before starting, let’s gather essential tools before the cleaning process.
Essential Tools for Oven Deep Cleaning
It may be challenging to decide which tools are ideal for your oven when such a large range is available. It would be best if you made sure that the tools you use won’t harm you or the oven before you start cleaning the oven. Some cleaning solution chemicals can harm the interior of your oven by removing the surface’s protective natural layer.
You will need the following tools to clean your oven in detail:
- Oven Cleaner
- Baking Soda
- Scourer
- Leather gloves
- Sponges/Foam
- Brushes
- Vinegar
- Plastic bags that seal or newspaper
Now that you have the right tools let’s move on to the step-by-step guide for oven deep cleaning.
Step 1: Taking Important Measures
Although cleaning an oven is not an easy chore, there are several measures you can take to make the job simpler if you decide to do it yourself.
- Ensure that the oven is off and cool before you begin.
- Cover gas burner jets with care and shield any exposed hot parts.
- Remove any food remnants you notice inside the oven while wearing rubber gloves.
- It’s also a good idea to change into some old clothing because cleaning the oven may be rather filthy.
Step 2: Clean the Racks
Next, take out the racks and clean them. You may just scrub them in the sink with some cleaning solution and a sponge if they aren’t too filthy. If not, soak them to remove any grease that has accumulated on them.
Get a bathtub or other sizable container that can be left open overnight and use it to soak the oven racks. After carefully covering the racks with baking soda, spray them with vinegar. As a result, a foaming response will occur, aiding in the decomposition of the grease. Once the foaming subsides, add hot water to the tub or container and place the racks inside for at least eight hours. After soaking, give them a last scrub with some water and soap.
Step 3: Clean the Oven’s Interior
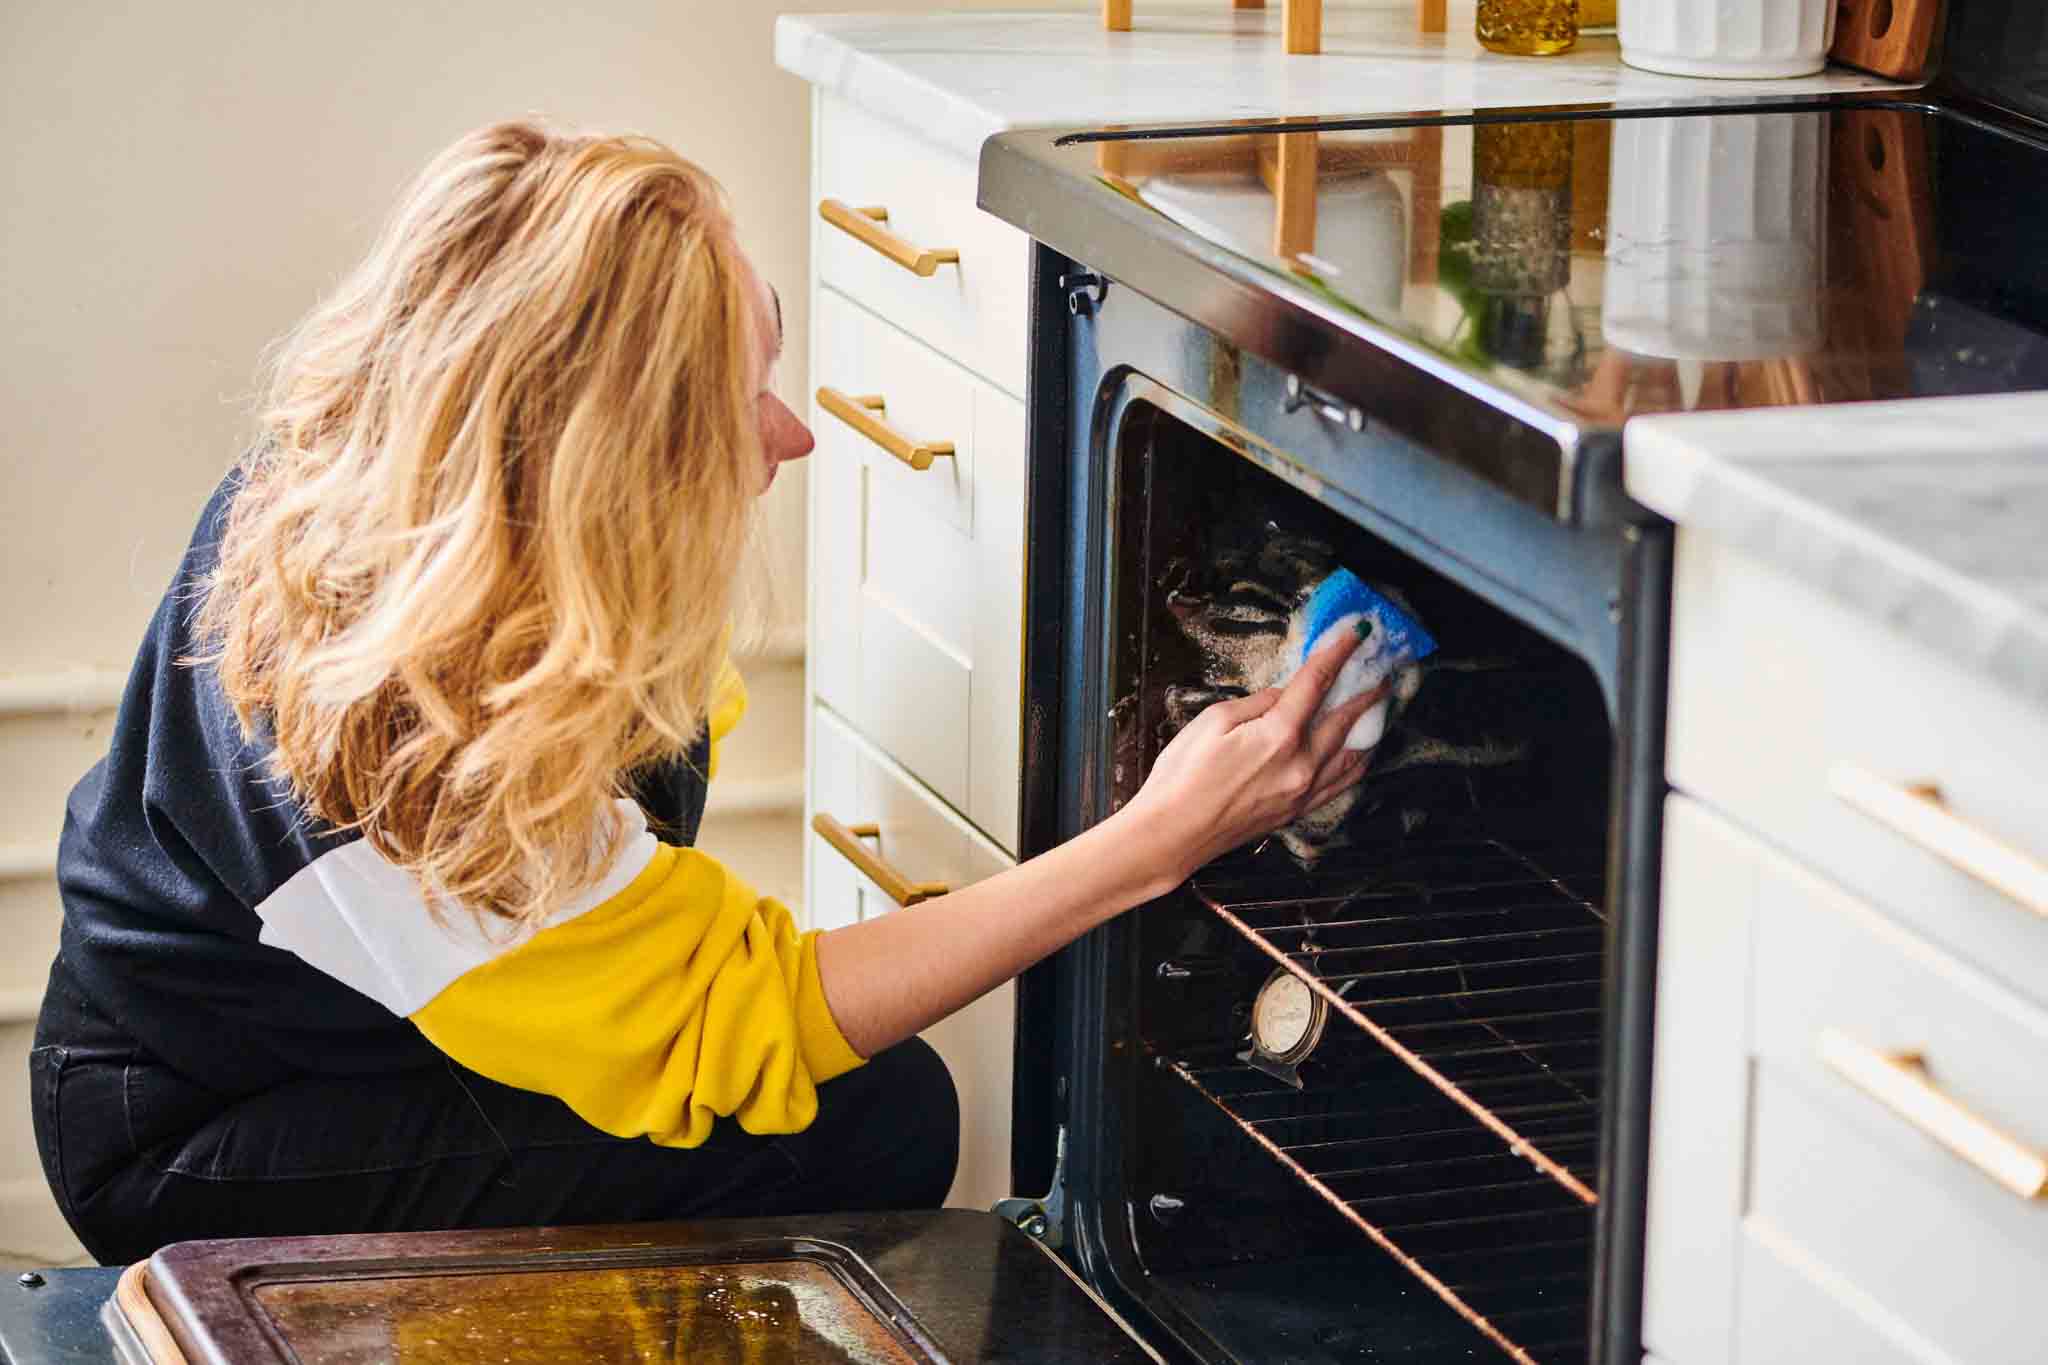
Use a moist sponge to clean the interior of the oven after the residual food starts to release. Repeat this process as necessary to thoroughly clean the oven, rinsing the sponge between rounds to prevent the spread of filth. The effectiveness of oven cleaning chemicals might take several minutes or even hours. Nothing electrical should ever be wet since electricity and water don’t mix nicely.
If food with burnt-on residue is still present, do not worry. Cover it with baking powder and let it soften overnight. The next day, you ought to be able to remove the tough stains.
Step 4: Baking Trays
Cleaning baked-on grease might be difficult, but with the correct cleaning agent, it ought to be a lot simpler. Put your baking trays in a sink filled with hot water and cleaning solutions to restore them to their previous splendor. Use a scourer to remove the grease, then pat the area dry. On baking pans that are non-stick, avoid using a pot scourer.
With caution, heat some water and pour it into the sink so as not to embarrass yourself. After that, stir in a cup of baking powder. Your stained trays should be placed in the sink and left there for an hour. It should take this amount of time for the burnt-on spots to become softer. After that, use oven cleaner for the hob or range top and wipe it clean with foam or a sponge.
Step 5: Clean the Glass Door
While deep cleaning an oven, your next step is to clean the door, which is where your foam will come in. Use your foam to scrub the interior of the door, occasionally immersing it in a bowl of fresh water. Any window cleaning solution should do the trick for the doors outside as well.
After cleaning the doors, put the racks back in the oven and give any knobs, handles, or buttons the last wipe-down. Then, sit back and take in your labor of love before moving on to other cleaning-related chores on your to-do list. Remember, if you are busy or tired, you can call HomePlus for house cleaning in Acton, MA.
Professional Oven Cleaners
You can clean your oven by yourself, particularly if you have lots of time and the proper supplies. However, a lot of people are using professional oven cleaning services. A network of specialized oven cleaners at HomePlus works with all makes and models of ovens.
In addition, our house cleaning services in Acton, MA, come fully prepared to clean your oven or anything else in your house that needs a proper scrubbing.
Contact us by clicking here!
